
Tooling is developed
- Index
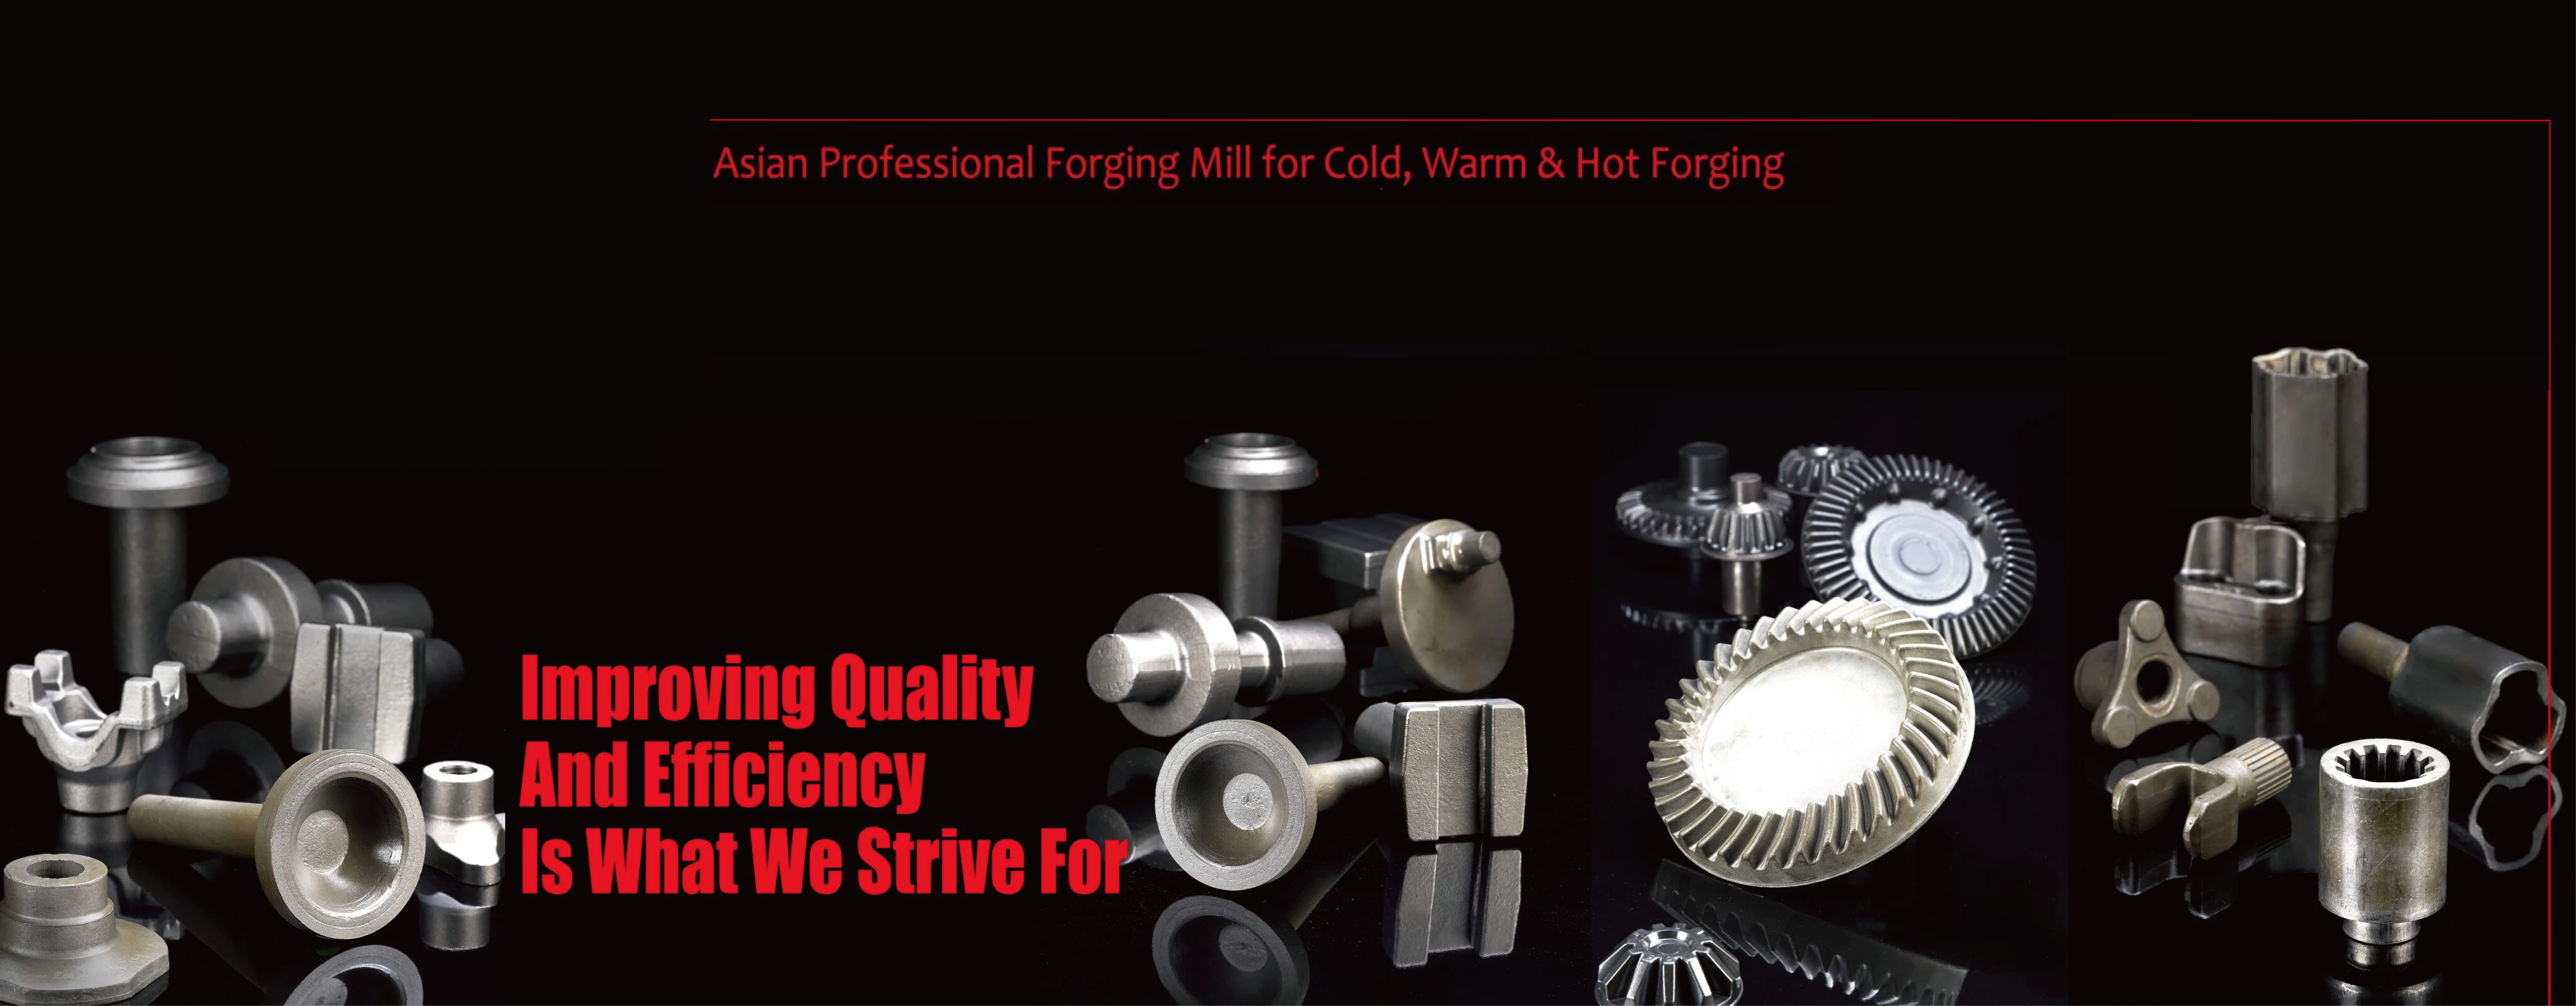
- CAPABILITIES
- Tooling is developed

Step 1: Initial Drawing Submission
We begin by reviewing your initial drawing to assess its feasibility, taking into account all cost, material, and quality factors. Based on this evaluation, we provide a detailed quote. Upon your approval of the quote, our team refines the drawing and creates precise forged CAD models for your final approval.
Step 2: Material Handling
After we design your dies, we order the steel for your parts in the correct diameter and grade. Certain materials can be challenging to acquire, but we alleviate this stress by sourcing all the necessary materials to complete your project seamlessly.
Step 3: Tooling Build
Our tooling development process ensures innovative and precise solutions tailored to your specifications. We deliver exactly what you need, quickly and efficiently, in approximately six to eight weeks.
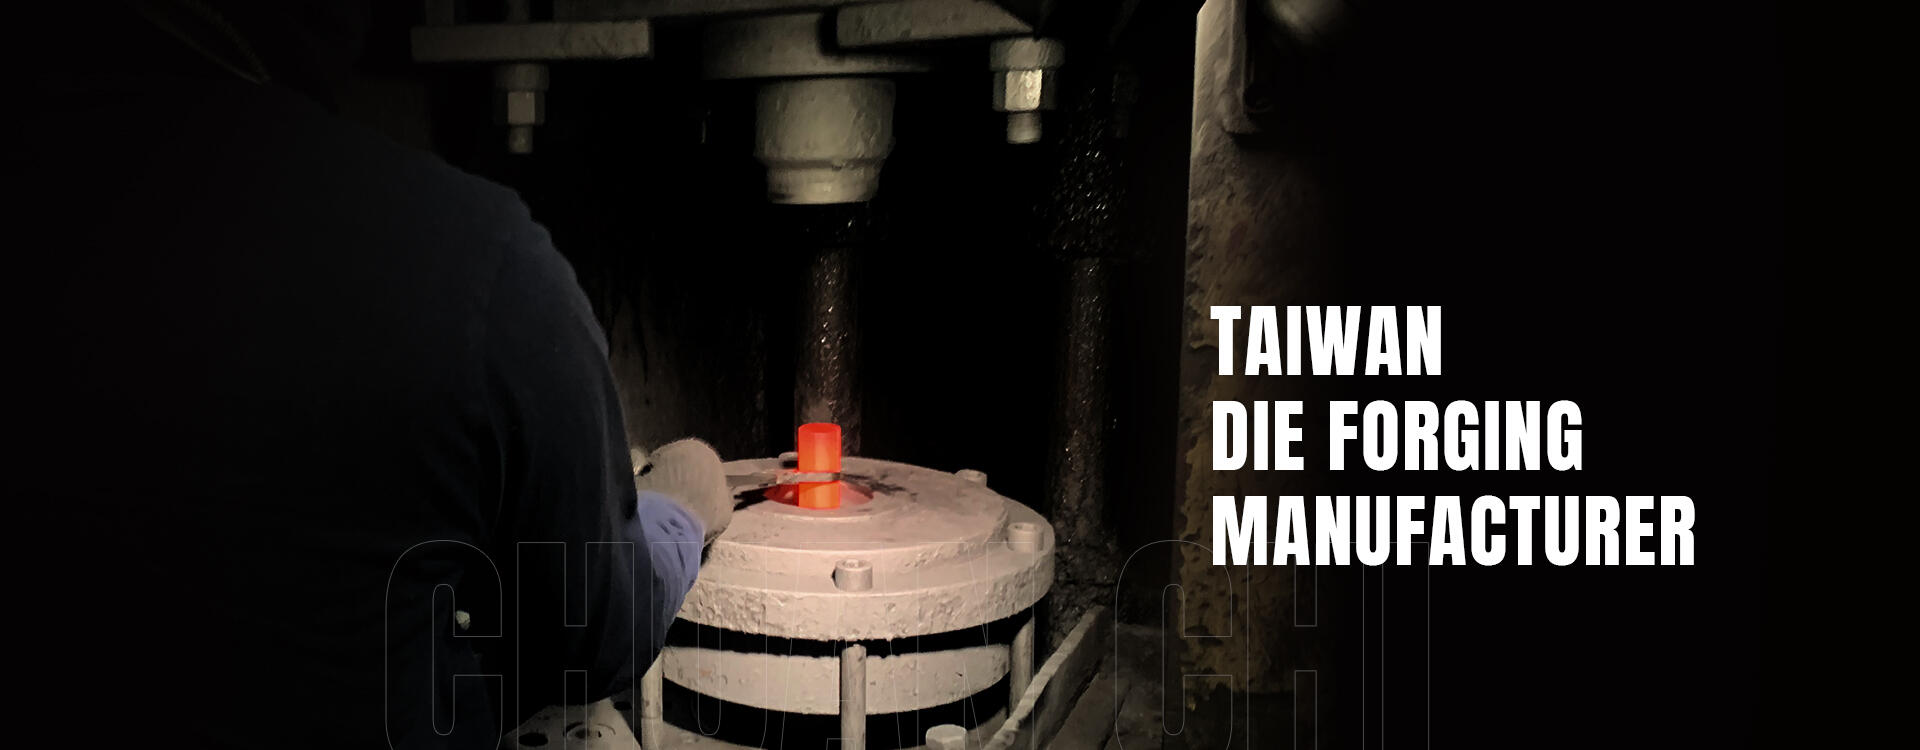
Step 4: Production
In press forging, the billet is normally struck just once per impression. After the material is cut, it is heated in an induction furnace. The excess material that is squeezed out along the parting plane of the dies, called the flash, is then trimmed away, leaving a finished forged component.
REVERSE ENGINEERING
For custom solutions, we also offer reverse engineering to ensure every mold is precise and efficient. Additionally, we can develop models based on customer-provided samples to guarantee accuracy and customization.